Random thoughts and bits of life of a coffee loving artist

Tuesday, November 28, 2017

Romance, Magic, and Art Books

Some time during 2016, long time friend and author Stacy J. Garrett had tossed out the suggestion to me to be part of an art book that she was thinking of adding to a series of novels that she was working on at the time. At the time, I joked around and said yes. Early this year, as she was wrapping up the last of the books for the series, she contacts me again and let me know that the art book was still going to be part of it. So that meant that I had a sizable job ahead of me. 


Welcome to the 3rd District
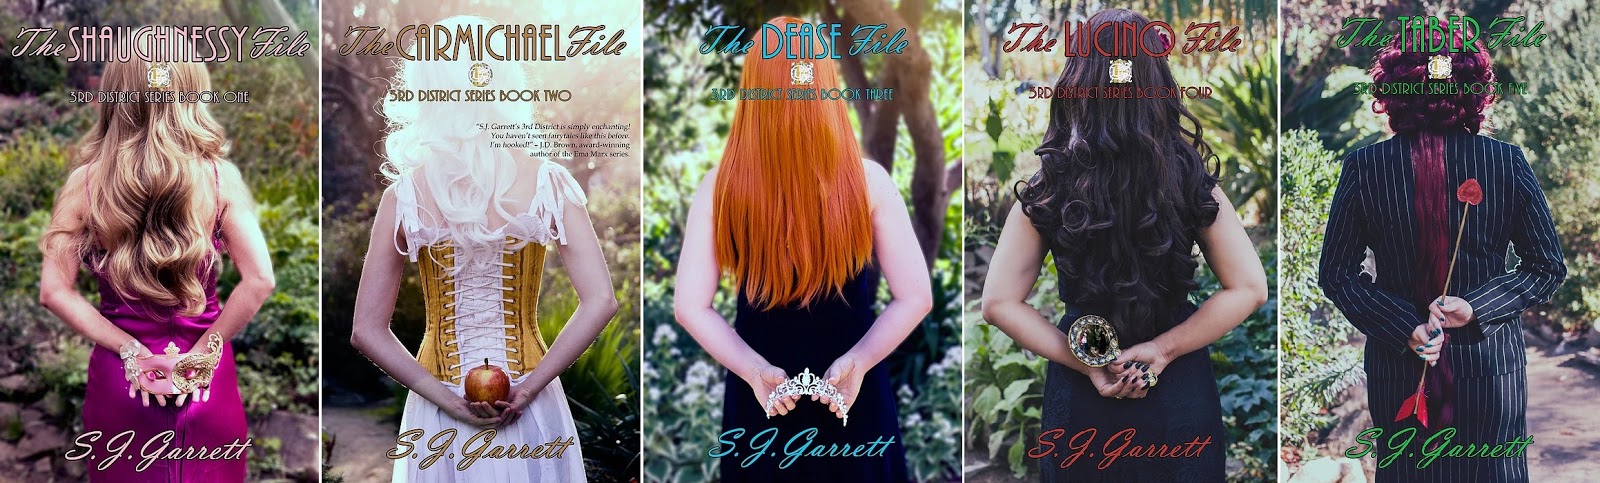
Book covers of the 3rd District Series
"Classic faerie tales get a modern makeover in the magical 3rd District of New York City where happily ever after is just a contract away" is the tagline for the series as a whole. Each book within the 3rd District series is broken into 'files', each focusing on modern interpretations of faerie tales that you know and love from your childhood. Filled with romance, suspense and, of course, magic, Stacy's attention to detail fully immerse her readers into the world. Each book also comes with a bonus short story. 

The Shaughnessy File - Youngest sibling Aenya Shaughnessy is dancing her way through her shoes every night-without ever leaving her room, and only a savvy private investigator might know the right steps to catch her. Kienan Shaughnessy throws his dreams of a musical career on a wild gamble that takes a detour once he meets a plain nightingale suffering a lonely curse. Eldest sibling Taegan Shaughnessy unexpectedly gets a new pair of glass slippers as he pines for a princess out of his reach. Mel Shaughnessy, the wild-spirited beauty of the household, finds himself at the mercy of a tutor nicknamed 'the beast', yet sees something much deeper under the surface. Can there be a happy ending for the whole family?

The Carmichael File - Sleeping beauty Rayna Carmichael has no idea what danger sent her into a coma for fifteen years, and an undercover warlock will have to find the truth before too many lies tear them apart permanently. Spirited Gwyn Trahern is marked for death by a jealous enemy, and only an artist with a gift of his own can save her from a poisoned apple. Confirmed bachelors, the seven Trahern brothers are content with their lives until they meet the seven sassy Germaine sisters, and with a little help from an enchanted locket, there might just be seven happy endings.

The Dease File - Local prince Cameron Dease finds himself in quite the pea-ckle as his mother tries to force him to get married against his will, but the sensitive skin of the secret princess he truly loves might just save the day. Upper and lower class collide as Kenneth Dease finds himself falling in love with a diamond in the rough, and only a magic lamp might save them both from a cruel wish designed to tear them apart. Surrogate Dease sister, Louise Pram, finds herself tangled within a handsome weaver's past and future alike, and it will take soul-searching for them both if they want to finish their story to a happy ending.

The Lucino File - Local princess Isabelle Lucino finds her world flipped upside down when she runs into 3rd District pauper Gabrielle Wisteria and they discover they could be identical twins, but an attempt to live in each other's shoes for a day only sets the entire Lucino family on its ear—and creates some dangerous stakes. Heir apparent Rafael Lucino has been in love with his bodyguard for years, but convincing his ugly duckling that she is as beautiful outside as in will be hard to do as evil closes in on them both. Family friend and almost-daughter Theresa Adams is a sheltered Rapunzel trapped in a tower she cannot escape, and only a dangerous and unlikely prince in disguise will be able to free her in time to save the entire Lucino family as a whole and bring their story to a happy ever after.

The Taber File - The finale has come! For 2000 Years, Rhianna Taber has played matchmaker extraordinare and helped thousands find their happy ever after. Now the immortal executive faces her toughest challenge of all: turning her own marriage contract from a "Void" to "Complete". With some luck, friends, and maybe some magic beans, the District's protector might finally have her ultimate happy ending.

Interested in ordering the series yourself? Stacy has all of her books available to be purchased on Amazon.com in both digital (Kindle) and paperback formats. Also, through her website, she offers the option of being able to read the first chapter of each book to capture your attention.  
Check it out here: 3rd District Series 


3rd District Official Art Book
Art Book 

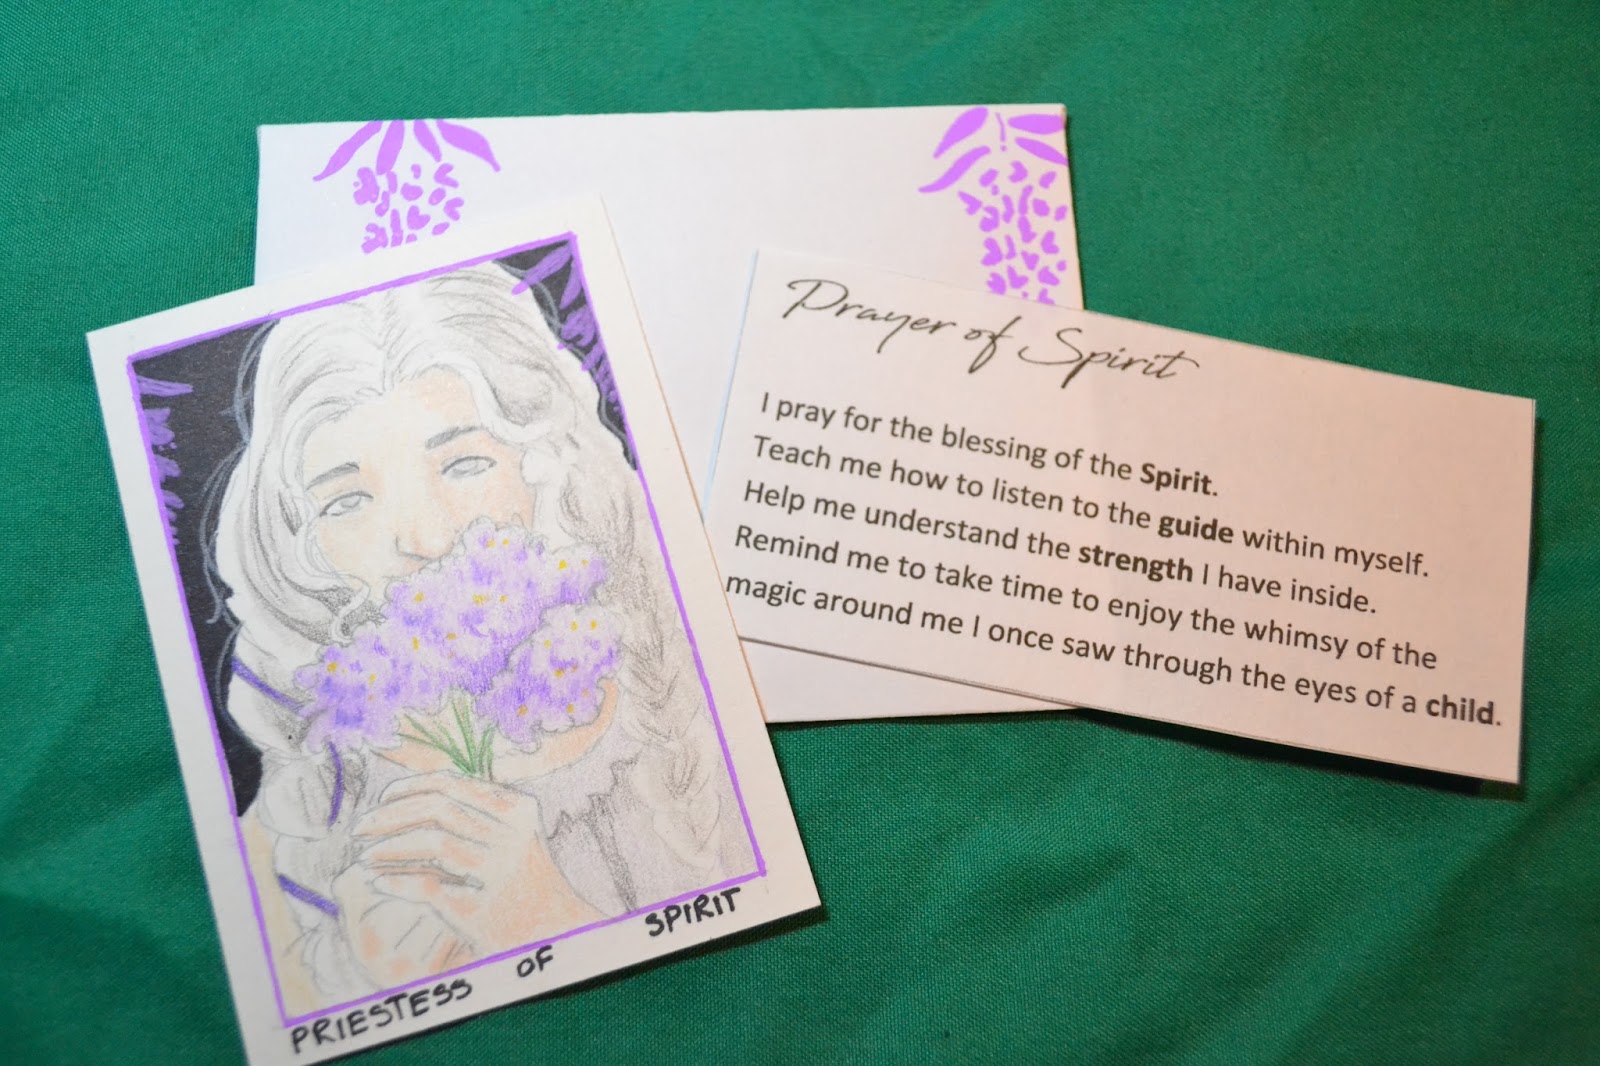
Having worked with Stacy several times in the past, I knew that the project was going to be intense and I wanted to do her series justice. What she was needing me to do was do images based on the description of paintings that are found within the 3rd District series. With a total of 18 images suddenly on my plate to tackle, I became one with my coffee pot and paints and dived right on in. There were several times where I had to take a break due to hand cramps or eyes not being able to focus on any other color due to what I was staring at for long periods of times. However, even with these setbacks, I pushed through and was able to complete the project. 


'The Swan and the Nightingale' by
Dawn Star Wood
Perhaps my personal favorite of the batch was one for 'The Swan and the Nightingale'. It was one of the few times I actually didn't want to give a client the image they requested and just keep it for myself. I'm not quite sure as to why I was drawn so much to that image in particular. Of course I did give the stack of images to Stacy once everything was completed, to which I received gleeful squeals as she looked through each and every image. 

The art book is filled with photography images from the series, other sketches I had done for Stacy that was for the short story bonuses, and small excerpts explaining everything. It is a delightful visual tie into the 3rd District series and is certainly the cherry on top of a literary cake. 

Wanting to add the art book to your collection? You're able to find it available on Stacy's website. She lets readers know that if you have already purchased the hardcover or are ordering the entire paperback series, the art book is included in your purchase. However, if you wish to have it as a stand alone, you can purchase it. 
Check it out here: 3rd District Official Art Book 

Monday, November 13, 2017

A lot to ponder

What started off as something that I was working on for October as something Halloween themed, slowly turned into what I can only describe as an intense brainstorming session. I don't normally do dark fantasy imagery with my work so it being the season for it at the time, I thought it would be a fantastic opportunity to experiment and push myself. 


Top: Golden Thread Tarot, Spirit de le Lune Oracle,
Cosmos Tarot & Oracle
Bottom: The Marigold Tarot, True Black Tarot
It was only a suggestion

Around the same time I was working on the painting, I was chatting with a wonderful friend about some artist created Tarot and Oracle decks that I could see her and I add to our respective collections. Such decks that were brought up included Golden Thread Tarot Deck from the Labyrinthos Academy, Cosmos Tarot & Oracle Deck from the Light Grey Art Lab, True Black Tarot by artist Arthur Wang, The Marigold Tarot by Amrit Brar, and Spirit de le Lune Oracle Deck by Rachael Caringella and Marissa Moondaughter. Jokingly, I made the comment to my friend of "What would happen if I ended up creating my own Oracle deck". Of course I wasn't prepared for the amount of enthusiasm and encouragement she would showed for the idea.  


So many things to consider

In-progress sneak peek of
"Deep Water"
Returning to the painting, I found myself pondering the discussion. Would anyone actually be interested in it if I attempted? Who would I have to contact to actually go about getting them created? Would I have to put it on Kickstarter or even Patron to help get the project funded? There was just so many questions running through my mind that it was surprisingly difficult to concentrate on completing the image.  What started off as a simple experiment using a darker color pallet then what I would normally work with was evolving into the flickering start of what may or may not turn into a passion project. Again, as I came closer to completing the image, I spoke with my friend about the earlier suggestion. I explained to her that if I did finally decide on moving forward with the idea, what would the theme of the deck even be? The only thing I knew for certain was that I wanted the image that I was working on to be titled Deep Water. With that being the only piece of information for her to go on and a glimpse of the nearly completed painting, she put it out to me that the work I was doing seemed to be directed towards the deeper side of the psyche and emotion then what many of the other decks are out there. It was an interesting point to think about. 
Left: Finished painting of "Deep Water"
Right: Experimental alteration of what "Deep Water" would
look like as a card

Once done with the image, I couldn't help but play with how it might end up looking like as a card. Of course it was simply to satisfy my own curiosity but it was an interesting experiment. I still have plenty to think about if I ever go down the route of making an entire deck. Another possibility would be an art book but again, I would need to think about the same series of questions that I had if it was a deck. 

Thursday, November 9, 2017

Out with the Old, in with the New

Box in its original state
Recently I found myself doing another box rehab. I'm not sure where my dad or I had picked it up from but it had been sitting on my desk for a good month or so staring at me. There was absolutely nothing appealing about it other then the size. The hardware was bad and the box itself was covered in what I could only describe as really bad wallpaper which had a fake snake/alligator skin texture to it. Finally I just couldn't take it any more and decided to make it my next project. 

Ready. Get set. START! 
First step was popping off the hardware. I discovered quickly that the hinges and lock needed to be completely replaced. There was something about thin aluminum hinges that bent easily that was a dead giveaway. So I used a nail file to pop the pieces off, watching little pieces of metal shoot across my desk. Next step was to find a way to get the paper
Outer layer of paper and hardware removed
covering off. Talking it over with my dad of how best to go about it. Originally, the plan was to use sand paper and work through the paper to the wood. I discovered that it wasn't the best idea. The reason was that, with the wood of the box already being thin, it was difficult to gauge how far I needed to go. So, though painstakingly slow, I took an exacto blade and carefully peeled the paper off. This alone took me about 4 or 5 hours, resulting in tired eyes, hand cramps and an aching back. On the plus side, I was able to get the top layer of paper of. It was also an interesting way to discover that the second layer of paper, due to what ever adhesive was originally used, was basically melded with the wood causing it to be impossible to separate the two. It didn't help that I had discovered that the box was made out of a rather porous grade of cedar and was itself being held together with a type of glue and not nails or staples of some sort. 


Filling in gaps

Reconstruction and reassembly 
After sanding what I could, I used my smaller desk lamp to use as a way to find cracks in the wood that needed to be filled. The bottom half of the box was fine but the lid needed some minor repairs since the paper was no longer there to keep the box together. Using some of my E6000 adhesive and a thin stick, I carefully filled in cracks and left the glue to cure completely (overnight). 

The painting process itself, though simple, took most of a day to do since Autumn has started to settle in making painting outside take a bit longer to to wait to dry. Starting off with a black enamel paint, I added hints of a midnight blue then did a bit of a sponged antiquing to it with a metallic silver before doing about two layers of clear glaze. With so many layers and the weather conditions since I was working outside, it took a bit of patience on my end to wait for everything to dry properly. Since I had started in the early morning on the painting process, the layers took until late afternoon/early evening to be at a point where I could continue working on the box without having to worry about leaving finger prints or having to repaint at some point. Of course, silly me, had made sure to wear a dust mask during the paper removal process but during the painting process I hadn't used that precaution so spent most of the day smelling and tasting paint fumes. 


Inspiration on box concept
Next up was the interior. To act as a barrier between the wood and what ever might end up being placed inside of the box, I used red felt and lined the inside of the bottom section. It gave the box a much needed splash of color and softness to the harsh edges. The inside lid was a completely different matter. Being drawn to Asian aesthetics and Steampunk/Victorian whimsy during this part of the process, I decided to combine the two styles. Looking through things that I had on hand, I decided on a piece of origami paper which I carefully measure, cut and glue into the lid. Once in place and making sure that there was no air bubbles or wrinkles, I took my can of clear glaze and heavily sprayed the interior. Basically I was using the glaze almost like a clear apoxie alternative. Making sure that the lid was laying on a level surface, I let the layer dry completely before adding another thick layer. An interesting result to this was that the origami paper became subtly translucent and was almost reminiscent of a stain glass window. To complete the inside of the lid, once the sprayed clear glaze was completely dry, I used adhesive to glue in decorative corners (typically used for the outside of frames or boxes) inside so that it could double as a possible extra storage area. 
Finished box

Once I replaced the hinges with better ones I made the discovery that, due to how the box was, no matter how tight I had the hinges on that the lid would still seem loose. So, for my own piece of mind, ended up using adhesive on where the attachments were in order to be sure that the hinges wouldn't get loosened too easily. Since I couldn't find a latching mechanism that was the same style as the hinges I was using, I went with something a little decorative and perhaps not very conventional. I had a piece of silver ribbon laying around so I decided on making it as a little handle for the lid. Personally I would have liked to have had some kind of closure system for the box but since I was limited on what I had on hand, this was an acceptable alternative on my part. I'm actually pretty happy with the end result of the box and the fact that it has a nearly curiosity cabinet feel to it just makes it just that much enjoyable. 

Tuesday, November 7, 2017

Blank Paper Inspiration

I have a tendency of accepting unfinished art supplies from friends who are cleaning out their own supplies. Usually it's unfinished paper for either pencil or watercolors, random tubes of paint, or tools they no longer need. Basically odds and ends that I could always use for smaller projects but it's not enough for the original owner to do anything with or they've decided they no longer have the room for the items. In a way, it helps me out since I don't always have the ability to purchase supplies but trying to keep things organized does get rather creative. It usually results in having random bags scattered around and having to figure out what items are where. 

While looking through a recently acquired bag of random items from a friend, I discovered that it contained a pack of blank Artist Cards, mini envelops and bits of one-off cuts of paper. Considering the time of the evening that I was looking through things, I was struck by a random bit of inspiration. Off and on for a couple of evenings, I ended up creating little illustrations that ended up being my interpretations of priestesses for the various elements. However, I felt that there was something missing. After a bit of thought, I realized that my solution was creating prayers for each one.  


Prayer of Light
I pray for the blessing of Light
May the fire within me never die out. 
Let me kindle the flame of passion & strength within others. 
May I be reminded that even in darkness that the
tiniest flicker glows bright. 


Prayer of Earth
May I receive the blessing of Earth
I pray to learn how to nourish myself. 
Teach me that even with death, there is life.
May I find balance between myself and the world


Prayer of Air
I pray for the blessing of Air
Allow the perfumed clouds from my offering be accepted. 
Teach me to hear the song around my being. 
May my voice, no matter how soft a whisper, be heard. 


Prayer of Water
May I be blessed by Water.
Allow my thirst be satisfied. 
May I be cleansed by the rain that washed over me.
Teach me how to ride through the storm & arrive safely
on the other side. 


Prayer of Spirit
I pray for the blessing of the Spirit
Teach me how to listen to the guide within myself.
Help me understand the strength I have inside. 
Remind me to take time to enjoy the whimsy of the 
magic around me I once saw through the eyes of a child.


I was really happy with the end results of the little project. Of course I realized after I had finished the last image in the group (Spirit) that the colors that I used for the priestesses did not correlate with the standard and widely accepted element-to-color pairings. For the wiccan/pagan community, the element-color pairings are usually:
  • Water - Blue
  • Fire - Red
  • Air - Yellow
  • Earth - Green or Black
  • Spirit - White
Where as if you go the Eastern direction, the element-color pairings are: 
  • Fire - Red
  • Water - Blue or Black
  • Wood - Green 
  • Earth - Yellow
  • Metal - White or Silver
As you can tell, after realizing that I didn't go the standard route for the combinations, I went ahead and accepted that these were my interpretations. Honestly, I went with what was best for the image and the feeling I wanted to bring forth from them. So, even though they aren't the standard things, I'm actually very happy that I went with my gut on them.